
I used Seesaw {the free ePortfolio tool} with my K-4 students last year, and it helped us make the Science Lab almost completely paperless, so it's no wonder I continue to rave about this tool! As a Seesaw Ambassador {look for me in the southwest section!}, I get constant updates about what the team is doing to improve their {already awesome} tool, so I was inspired to write a series of blog posts on Seesaw. Check back frequently over the new couple of weeks or follow me on Twitter to make sure you don't miss any of this series!
This post is all about helping students navigate Seesaw and submit work to their journal.

I made a ThingLink with Seesaw vocabulary; it might be fun to show it in class to your students when you introduce Seesaw!

In the ThingLink above, the icons on the left {there are 7} are all ones you and your students will find on the dashboard. The 3 icons on the right are ones your students will find after they upload an image or draw an image on the included whiteboard. Hover over the picture, and little circles will appear on every icon. Hover over a circle, and text will appear that will explain more about what that icon does.
While students are able to log in to their account via a computer or Chromebook, screenshots and directions in this post will focus on iOS devices, as that is what my district uses.
When students first log on to the app, they should see the dashboard, which gives them 6 options:
 |
| You can find more information about what each of these options does by viewing this ThingLink |
Submitting Work
If the student chooses to type a note, he will see a screen that looks like lined notebook paper. After typing, click the green check mark in the top, right corner. Then he will see a screen that looks like this:

Click the microphone to record voice notes, and click the notebook icon to go back to the typing screen to edit the typed work. Click the green check mark in the top, right corner to continue.
If this class is set to "classroom sign in mode" {discussed in this blog post}, students will need to choose their name from the roster:
 |
| Notice the circles on the left next to student names -- this means the work can be submitted to multiple journals at a time, if you want |
Selecting their name puts a green check mark next to it, so you can easily see which journal(s) are selected before moving on. You can submit work to as many student journals at a time as you want. {My class had 12 iPads, so students primarily worked with a partner and then submitted the work to both their journals when they were finished.}
This works basically the same way for all other features, but let's look at one more example: drawing. When a student chooses to draw, he sees a whiteboard and an array of colors, like this:
 |
| The eraser and marker size tool are both new features this year -- yay! |

Click the microphone to add a voice recording, the pencil to go back and edit the drawing, and the "T" to add a caption in the bottom, left corner. There is talk about two new upcoming features, but I'm not sure when/if they will be released... One is the ability to record as you're drawing, so both the drawing and the voice are recorded at the same time -- much like Educreations or Explain Everything. The other feature is the ability to move the caption wherever you'd like on the screen so it can work as a label for diagrams and such.
When finished, click the green check mark, select the student name from the list, and click the green check mark again. It's SO easy! My kindergartners were doing this with ease after they tested it just once!
Viewing Work
As discussed in this blog post, students who sign in with a QR code in classroom sign in mode will see every other students' work in their newsfeed. Remember that you can change this by switching to individual student sign in; in this mode, students will only be able to see their work in Seesaw and will need to log out of their account each and every time they stop using the iPad.
Copying and Editing
If students are in classroom sign in mode, they can view each others' work if you, the teacher, enabled access {find it by going into "manage class," looking under "students," and clicking to enable item editing}. When viewing others' work, students have the option to copy and edit something to add into their journal. They can copy and edit by clicking on the "..." next to someone else's work:
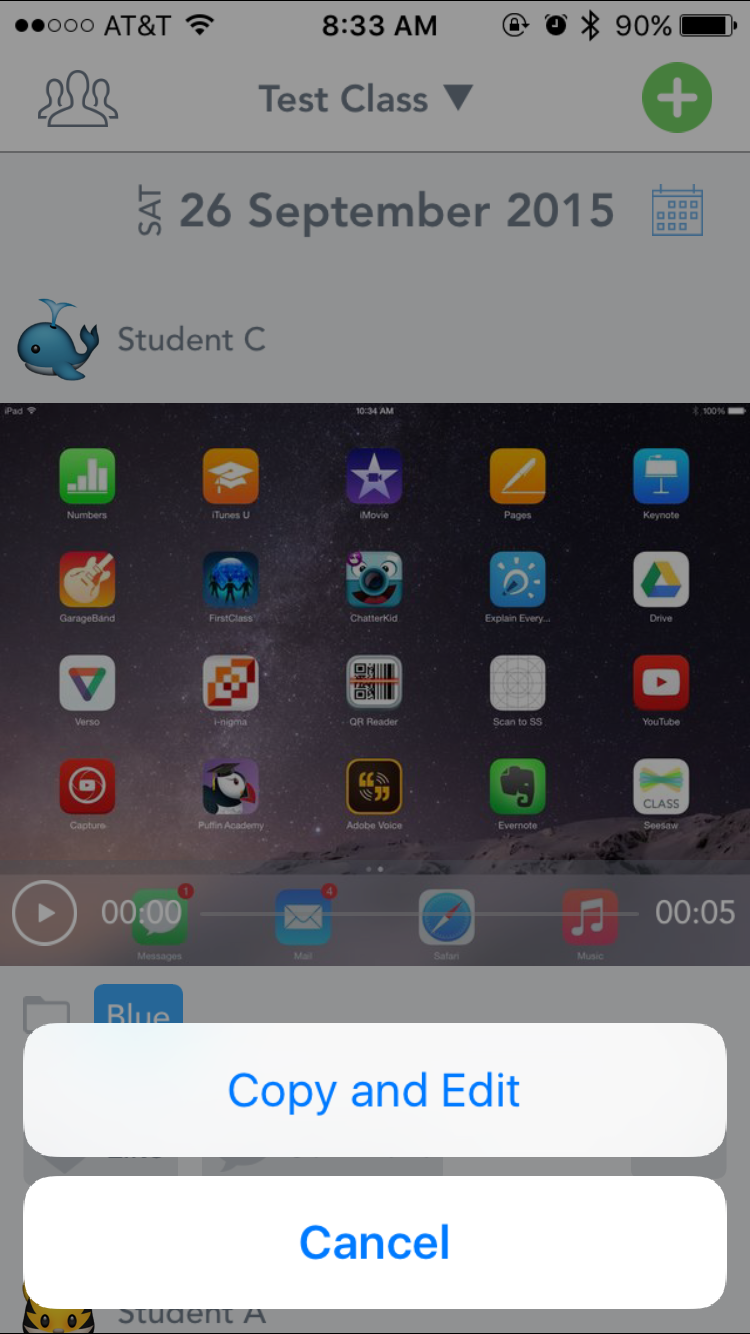
After pressing the "copy and edit" button, they'll see something like this:

This option was not available when my kids used it last year, so I haven't seen it in action with students yet! For this blog post, I copied and edited work with a voice recording attached to it. It appears that that voice recording stays attached to it, and that the new student can rotate the picture, record more voiceover, annotate over the picture, and add a text caption. When copying and editing, students can only submit to one journal at a time.
 |
| Notice the lack of circles on the left side next to the student names -- this means students can only submit to one journal at a time |
If students press "link" within the app, they may see this pop-up:

Please note that you can only submit a link within the app if the link is copied to your clipboard. If you get this notice, you can click the home button of the iOS device, go into Safari, find the website you want, long-press in the URL bar, select "copy," and then double-click the home button of the iOS device to go back into Seesaw and enter the link.
Feed View & Calendar View
More details about feed and calendar view will be discussed in the next blog post about teacher navigation, but for now, just know that students can access both of these options by clicking on the silhouette of the group of people in the top, left corner of their screen and viewing the slide-out menu that looks like this:
 |
| Students can always check the name of their teacher in this view and the name of the class they're logged into by going to their dashboard |
Liking and Commenting
Students in classroom sign-in mode can see each others' work, and they are able to "like" or comment on classmates' work if you enable the feature. To enable it, go into "manage class" settings, find the "student likes and comments" section, and enable what you wish. You can enable just likes, just comments, or both, and you can require teacher approval before comments are published {which means you'll get a notification about each and every student comment}.
Tweetable
Other post in this series:
- Features: available 10.10.15 {what students can do, what parents can do, and what teachers can do}
- Getting Started: available 10.11.15 {signing up, creating a class, classroom sign in vs. individual sign in, creating folders, helping students sign in}
- Student Navigation: available 10.12.15 {icon glossary, submitting work, viewing work, copying and editing, feed and calendar view, liking and commenting}
- Teacher Navigation: available 10.13.15{finding student work in the feed, individual student journal, calendar, folders, flagged work}
- Pushing Work to Students: available 10.14.15 {converting printed files to digital ones, sharing PDFs vs. image files, pushing work to everyone vs. pushing work to select students, AirDropping images}
- Interacting with Student Work on Seesaw: available 10.15.15 {student work: dissected, editing people and folders, downloading and sharing items}
- More Options: available 10.16.15 {managing class, students, parents, folders, other, and administrative details; student avatars; premium version}
Thanks for your posts about SeeSaw. I'm "experimenting with it this year" and would love to find out more information about "Pushing Work to Students"...however, when I click on your link above, it says the page has not been found. Any thoughts about where I can find more info on this? Appreciate all your sharing!
ReplyDelete♬Mrs. Samuelson's Swamp Frogs ♬
Hi Heidi,
DeleteI'm doing a series on Seesaw, and each post releases on a different day. The post about pushing work is available on October 14. Check back then! :)
Hi, I was wonndering if it possible to organize a class in groups in Seesaw. My fourth grade students will be working in cooperative groups in a project and I need to make sure they don't misplace their work in Seesaw. Do you know if Seesaw allows this option and how to do it?
ReplyDeleteHi! If you're wanting to have students named "Group 1," "Group 2," etc. and then place students into those groups on Seesaw, I don't think that is currently possible. There are a couple work-arounds that might meet your needs, though... If you just need your list of students to be sorted into their cooperative groups so you can look at all the projects from one group at once, you could alter the student names to something like 1Billy, 1Susie, etc. so that all students in group one would be together in the student list, regardless of what letter their first name starts with. If you don't care how the list of student names is organized but just want kids to be able to turn in a project together, kids would just select multiple names before hitting the final "turn in" check mark. For instance, my students always shared an iPad because we didn't have enough for everyone to be 1:1. If Billy and Susie are partners, I just had them click both Billy's name AND Susie's name when they went to turn in their project. As the teacher, I can see how many student journals a particular assignment was turned in to, so I know who belongs to which group. Does that make sense? If not, I'd be happy to try to explain another way if you could give me some clarifying information about your question. :)
Delete